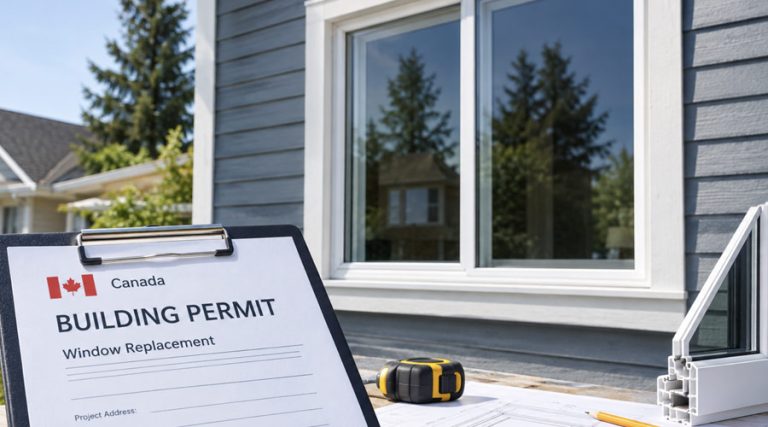
Window Replacement Permit: When You May Need One in Canada
A window replacement permit may be required when the opening, structure, use, appearance or building type changes. Learn what to verify locally before ordering windows or starting work.


To measure a garage door opening, record the finished opening width and height, then measure the clear space beside, above and behind it. Also document floor slope, opening shape, framing condition and every obstruction in the proposed door and operator path. These measurements are useful for quotations and early product selection, but the supplier or installer should verify the final order size and hardware layout for the exact door system.
Safety note. Do not handle springs, cables, bottom brackets or other counterbalance hardware while measuring. If the existing door is damaged, unstable, jammed or partly detached, keep clear and arrange professional service before approaching the opening.
The door opening is the clear finished opening through which the vehicle passes. Measure between the finished left and right jamb surfaces and from the finished floor or sill to the underside of the finished header. Do not assume that the visible old door panel, exterior trim or rough framing represents the order size.
The opening dimensions describe only the hole in the wall. The selected system also needs room for tracks or guides, brackets, counterbalance components, a coil or horizontal door path, an operator and future service access. That is why a useful measurement record includes the space around the opening.
Take measurements from inside the garage where the track, guides and operator will be located. Keep the door stationary and the work area clear. If a dimension cannot be reached safely, mark it for the installer to verify instead of stretching, climbing on stored items or working around moving equipment.

Measure horizontally between the finished jamb surfaces. Take readings near the top, middle and bottom of the opening because masonry, framing and finishes may not be parallel. Record every reading and label its location; do not average them or round them into a preferred catalogue size.
Measure vertically from the finished floor or sill to the underside of the finished header. Check the left, centre and right sides. Note floor slope, raised edges, drains, thresholds, heaving, deteriorated concrete or another condition that changes the clear height or bottom-seal contact.
Sideroom is the clear horizontal space from each inside edge of the opening to the nearest wall, return, pipe, cabinet, switch, column or other obstruction. Measure both sides separately and at more than one height when the wall is irregular. The required sideroom depends on the door type, track or guide, spring system, brackets and controls.
Headroom is the clear vertical space above the opening, measured from the top of the finished opening to the lowest relevant ceiling, beam, joist, duct, pipe, light, door, storage system or other obstruction. Check across the full opening and along the area where the track, spring, coil or operator may be installed.
Backroom is the unobstructed distance from the opening into the garage along the proposed travel and equipment path. For a sectional door, this normally includes the horizontal track and may include the operator rail. For a coiling door, the critical equipment envelope is different, but room for components and service still has to be confirmed.
A single width and height can hide an opening that is tapered, racked or uneven. Compare the repeated width and height readings, check the header and floor for level, and note whether the jamb faces appear plumb. Diagonal measurements may help identify an opening that is out of square, but they do not replace an installer’s assessment of the supporting construction.
Photograph cracks, loose finishes, rot, corrosion, displaced masonry or questionable attachment surfaces. Do not describe framing as structurally adequate based only on a homeowner measurement. The installer, and an appropriate building professional where necessary, should determine whether repair or reinforcement is required.
Sectional, rolling, side-sliding, tilt-up and side-hinged doors do not use the same movement path or hardware envelope. Even within sectional systems, standard-lift, low-headroom, high-lift, vertical-lift and roof-pitch track arrangements can require different space. Operator type and location can also change the required headroom or backroom. The difference between sectional and roll-up garage doors illustrates why these measurements matter: one typically needs an overhead track path, while the other needs space for a coil above the opening.
Manufacturer measurement guides illustrate this variation. Clopay’s published dimensions apply to specified Clopay residential hardware, while Overhead Door’s guide provides measurements for its product-selection process. Treat such numbers as product-specific examples, not as universal Canadian minimums.
No. Manufacturers and dealers may stock or market common nominal widths and heights, but “standard size” is not a substitute for field measurements. Product availability, panel configuration, hardware, track arrangement and fitting details vary. Older garages and altered openings may also differ from a current catalogue.
Record the actual opening and surrounding clearances first. Let the supplier map those measurements to an available nominal size or identify whether framing changes or a custom product are appropriate.
Dimensions alone do not define a suitable door. Tell the supplier whether the garage is attached or conditioned, how the space is used, whether wind or exposure is a concern, and whether glazing, insulation, an operator or other options are planned. These choices can affect door weight, reinforcement, hardware and installation details.
Before ordering, the responsible supplier or installer should verify the finished opening, the complete equipment envelope and the condition of the supporting construction. The final review should use the selected manufacturer’s drawings and instructions, including the chosen door size, track or guide arrangement, counterbalance system, operator and options.
Do not reuse existing tracks, springs, cables or brackets merely because the opening dimensions appear compatible. Door components are selected as a system, and manufacturer instructions determine which parts and configurations are accepted.
Requirements vary by location and project. Confirm current rules with the authority having jurisdiction before ordering, selling, or installing products.
Compare local garage door companies that can verify measurements, product fit and installation requirements before ordering.
A reliable garage-door measurement records more than width and height. Measure the finished opening at several points, capture left and right sideroom, headroom and backroom, and document floor, framing and obstruction conditions. Use that information to request a quote, then require product-specific professional verification before the door is ordered.
Continue with Garage Doors 101 or compare qualified professionals who can confirm the opening and proposed system.
Quick answers for homeowners recording garage-door opening measurements.
A window replacement permit may be required when the opening, structure, use, appearance or building type changes. Learn what to verify locally before ordering windows or starting work.

A practical framework for generating qualified window and door leads, selecting channels, controlling response and attribution, and avoiding common compliance and quality failures.

A practical framework for moving qualified window and door opportunities through consistent stages, producing evidence-based forecasts and aligning sales activity with operational capacity.

A practical KPI framework for Canadian window and door companies, with controlled definitions, formulas, reporting rules and management actions.